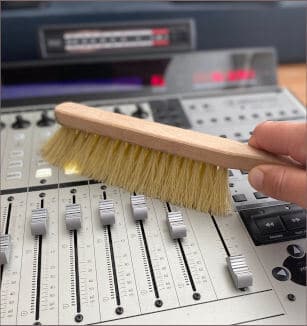
Mixing audio for video – cleaning up!
Besides giving everything its own place, in this phase you should also be thinking about cleaning things up. Let me explain what I mean.
As we said, under the 60-70Hz there is no useful information in a voice-over. So filter this out. But also listen to the sound effects in relation to the music. As an example, think of a whoosh sound with a lot of low-end in it on some title transition. That low-end can mask the bass guitar in the music. And chances are that you don’t actually need all that low-end in the whoosh sound.
If you filter out everything below 60Hz, it will most likely sound just as good but it will sound a lot more ‘open’. This is what I mean by cleaning, filtering away all the things you don’t need to make your mix sound more ‘open’.

Same story with sound effects with a lot of mid-high. This can get in the way of the voice-over. In that case try to make a dip around 3-6kHz, so the voice-over stays up-front in the mix and you won’t have trouble understanding what he/she is telling you.
And often if you do this, it suddenly seems as if you can hear the sound effect better, even though you have just taken some ‘clarity’ out of it. This is because the placement is now much better: voice-over and sound effect both have their own place in the mix.
If you are satisfied with the placement of the voice-over, music and sound effects and you have given everything its own place in the mix, it’s time to start mastering. We will have a look at this in the tutorial ‘Mastering audio for video productions’.

