Setting up a home studio
What will we cover in this tutorial:
– Computer & audio interface
– Which DAW?
– MIDI
– Speakers (monitors) & headphones
– Placement of studio monitors
So you are a musician or producer and you want to record and mix your own music. The first thing you have to worry about is what stuff are you going to use and how to set it up.
In this tutorial we will look at your recording setup, latency, MIDI, monitor placement, mixing on headphones and much more!
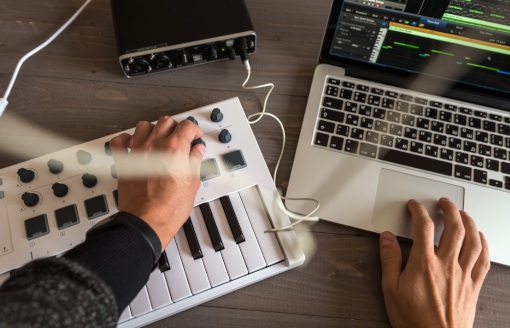
Whether you’re a singer songwriter, a producer, or you want to record a big band consisting of 10 musicians, the basics are the same. But for the big band you just need a much bigger (=more expensive…) recording setup.
Ok, so let’s start with your computer and sound card.
Computer & audio interface
It all starts with a computer. To immediately answer the #1 question I get asked: Mac or PC doesn’t matter, choose whatever you like most. Good audio software is available for both platforms.
Besides that you will have to choose an audio interface. Because you can’t just plug a professional microphone, a synth, or your guitar directly into your computer. There must be a device that translates the sound of that microphone to zeros and ones.
Audio interfaces come in all shapes and sizes, usually they are connected to the computer via USB or Thunderbolt. On an audio interface you often have a pair of microphone inputs, a pair of instrument inputs, a headphone output, outputs for speakers and maybe some extras, like digital inputs and outputs. We will all come back to that.
Latency
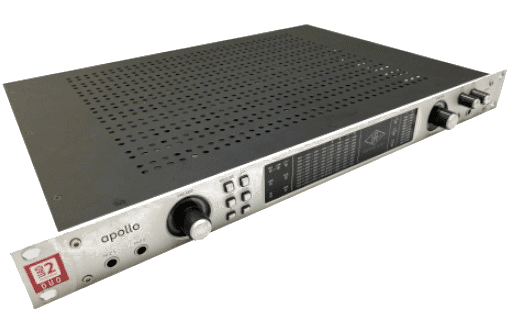
One of the most important things you have to deal with when recording your own music: latency. This is the time it takes for the computer/interface to process the audio and then play it back through the speakers. This is often only a few milliseconds. But that can already be very annoying: If you hit a chord on your keyboard and you hear it back on your headphones a tiny bit later, it can feel like you’re playing when you are drunk. In short, you need an interface that processes the audio fast enough so you don’t notice a delay.
How fast? Well, that depends. I have worked in many different studios over the years and recorded many voice talents. The funny thing is that you could do a recording session where everything was fine, but in another session with the same settings you could immediately get complaints: ‘I hear a delay.’ The latency hadn’t changed in the meantime, but the person behind the microphone had! The more experience you have, the more annoying you will experience latency.
But this is also how I found out that with a latency of 32 or 64 samples, you’ll be fine in the vast majority of cases. You can set this delay in your audio software (DAW). Remember that your computer needs to be fast enough to be able to process the audio fast.
Zero latency
Some audio interfaces have a ‘zero latency’ option. With that option the audio is then sent back to the headphones/speakers without going through your recording software. So you don’t hear what’s recorded, you only hear what is played at that moment. This is fine if you want to hear yourself playing without delay, but if you want to play along with something you have already recorded, this option does not work.
Which audio interface?
Do you want to record a full band, then you need quite a few inputs to connect all microphones. If you only want to record vocals and acoustic guitar, then 3 inputs are enough (1 for vocals, 2 for guitar (stereo!) If you are a producer, then you might want to connect a MIDI controller to the computer (we’ll come back to that later). What you record determines how many inputs and outputs you need.
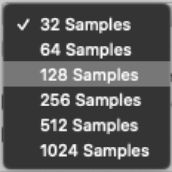
In terms of brands, there are quite a few players on the market. Good brands for all the examples above are RME, Universal Audio (apollo interfaces, see image above) and Focusrite. Universal Audio make their own plugins (mostly very good re-makes of classic hardware). They only run on Universal Audio interfaces though. But they are really top of the line plugins, so Universal Audio has an edge here. RME can be considered the Mercedes among the sound cards. Top quality, reliable and they always work.
Which DAW?
Once you’ve chosen your computer and hardware it’s time to look at the audio software you want to use. This is often called DAW (Digital Audio Workstation).
You have a few well known players on the market. And even though there are fierce supporters and opponents of the various DAW’s, the ones below are all great. Really. One is more suitable for MIDI, the other works better if you focus on editing audio, but don’t worry: you can make a good mix in all DAW’s. 🙂
Avid Pro Tools
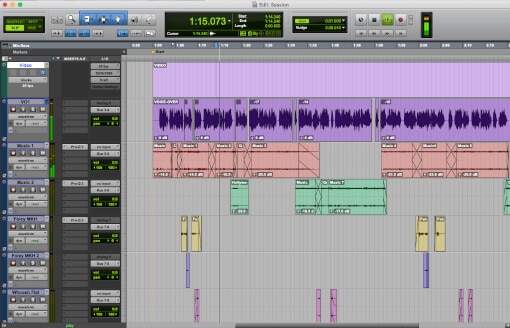
This is without a doubt the most widely used DAW in studios worldwide. I’ve worked as a freelancer in many different studios and I’ve hardly ever come across another program. This doesn’t mean it’s also the best, of course. Personally I think it is the best when it comes to editing audio, but if you’re going to do a lot with MIDI and virtual instruments it may not be my first choice. You have two paid versions of the program (the ‘normal’ version and the Ultimate version), but there is also a free version: Pro Tools First.
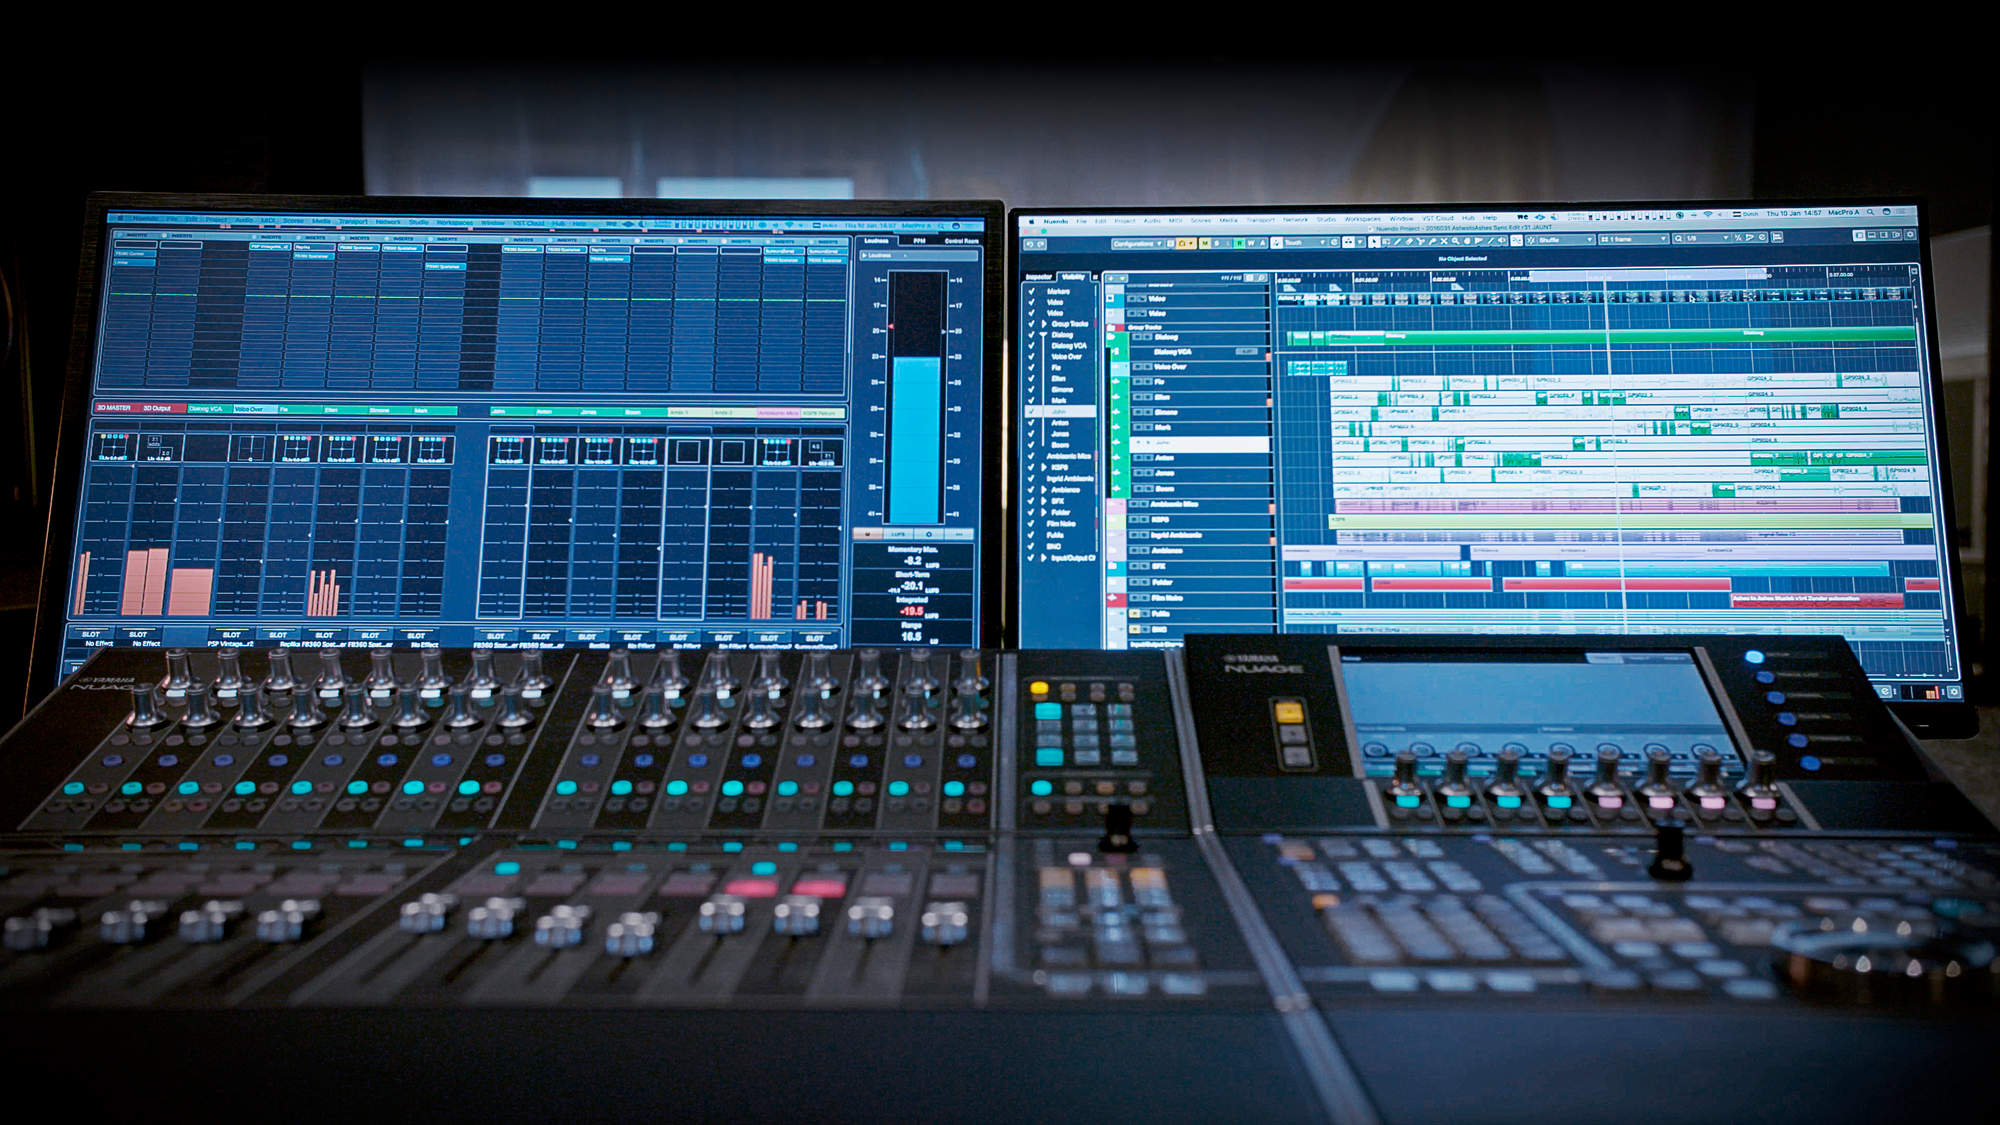
Steinberg Cubase and Nuendo
Cubase is very popular with producers and composers. The program has great MIDI functionalities and is also very suitable for audio mixing/editing. Nuendo is a program that looks a bit like Cubase, but it is focused on high-end audio post-production. It has a lot of very good post-production features built in, which you won’t find in other DAWs. In terms of functionality and innovation, Cubase and Nuendo are really ahead of Pro Tools. But when it comes to audio editing, I personally work faster and more efficiently in Pro Tools.
Apple Logic Pro
Again a program that is very popular with producers and composers, again because of the good and extensive MIDI possibilities. Logic and Cubase are the two most popular DAW’s with producers and composers.
Reaper
Reaper is a great audio editor, which can be downloaded as a free ‘evaluation version’. It is unlimited, so you can do anything you want to test the program. By the way, the price of Reaper is a lot lower than the price of the DAW’s mentioned above. So, if you are looking for a good audio editor packed with features for a small price, this is a good option.
Side note: Plugins
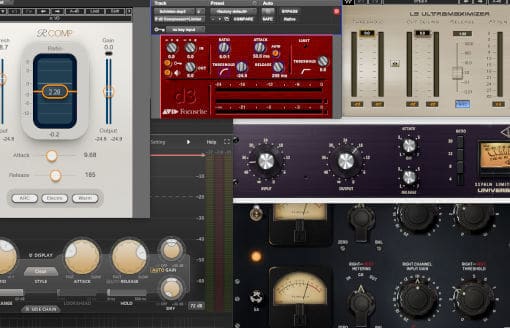
Whichever DAW you choose, you can buy external plugins for it. For the absolute beginner: these are programs that you run in your DAW to do a certain function. For example, you can buy an equalizer plugin, or a compressor. Well known plugin brands are Waves, FabFilter, SoundToys and UAD. The latter needs its own hardware to run on, the other ones don’t. But you can run all of them on all DAWs. The technique behind it differs a bit: Steinberg uses VST, Avid uses AAX and Logic AudioUnits. Not that important, but useful to know. If you buy a plugin package you can often choose to install the VST, AAX or AudioUnits version.
MIDI
MIDI stands for Musical Instruments Digital Interface. Keyboards, synthesizers and audio interfaces often have MIDI in/outputs.
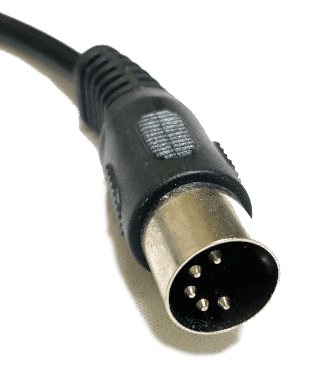
So what is it? Suppose you have a keyboard with a MIDI out. Via a MIDI cable (image below) you connect it to the MIDI-in of your interface.
Now the power of MIDI is that no audio runs through the MIDI cable. What does run trough the cable? Just ‘information’: at what point in the timeline you pressed a key on your keyboard, which key it was exactly, how hard you pressed it, how long you kept it pressed, etc.
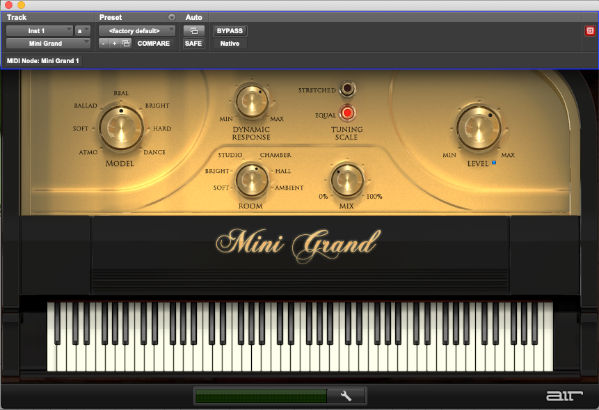
In your DAW you can create a MIDI track with a ‘Virtual Instrument’ on it, a software synthesizer. There are many different virtual instruments available. Some of them imitate grand pianos (image below), others complete modular synths, drums, guitars…anything you can think of.
So let’s say you pick a piano virtual instrument plugin. All the MIDI information is sent to that plugin and it reproduces a tone, just as loud as you pressed the key and for the same length of time.
But now for the fun part: if you put another virtual instrument plugin on it, for example one that imitates a string orchestra, the same tone will be played by a string orchestra with the same volume and the same length.
And this is the big advantage of MIDI. You can adjust the sound and data afterwards. So was a note played just too loud? Then you can simply turn it down a bit. And with the ‘Quantize’ function you can make sure everything sounds more tight, even if you didn’t play so neatly yourself.
Good to know: Many MIDI controllers (i.e. keyboards made purely to control virtual instruments) also work with USB instead of MIDI cables. You connect the USB cable directly to the computer (not to your audio interface). The computer recognizes the device and you can use it as input for MIDI tracks in your audio software.
A few MIDI terms you’ll come across a lot:
MIDI In, Out and Thru:
These are the inputs and outputs. Plug a cable into the MIDI Out of your Keyboard and into the MIDI In of your audio interface to record MIDI into your computer. The Thru is a copy of what is connected to the Midi In. This allows you to supply multiple devices with the same MIDI signal.
Sequencer:
The device that records MIDI data. This is often your computer, programs like Cubase, Logic and Pro Tools are all MIDI sequencers.
Speakers (monitors) & headphones
The most important part of your set are the speakers (monitors) you listen to. Good studio monitors are designed to reproduce the sound as honestly as possible. They often cost a lot of money. Good headphones aren’t that expensive. So if you are on a tight budget the question soon arises: can you also mix on good headphones?
I’ve been mixing music in strange places. For one of the Dutch radio stations I once had to mix a band at 6 o’clock in the morning on a campsite somewhere in the middle of nowhere. It didn’t take very long for everyone to wake up….Or in a mobile studio truck behind the stage on a festival where all the bass you heard came directly from the stage, not from the speakers.

At these places I had to rely on my headphone-mixing skills. So if you ask me…I think you can make great mixes using good headphones. But it’s not easy! It’s always best to get a nice set of studio monitors. If you start out you might choose to get good headphones and somewhat cheaper studio monitors. That combination is probably better than only headphones.
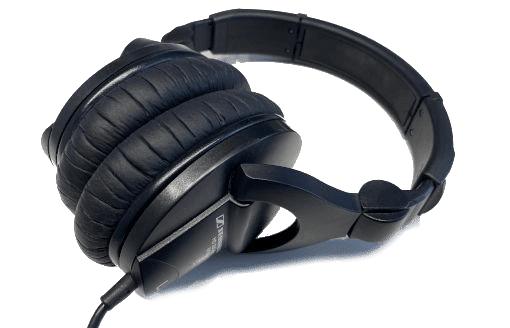
A good set of headphones doesn’t have to be very expensive. I like to use the Sennheiser HD 280 pro myself (image above). A headphone of around 100 euros that sounds good and ‘honest’ to me. Ok, there is a bit too much low end in it to my taste, but taking that into account it’s fine to use it as reference headphones. On those strange places I mentioned before I have used these headphones all the times.
Good to know: You’ve got open back and closed back headphones. The ear shells of closed-back headphones are closed at the back. Yeah, sometimes life is easy. The good thing about this: you hear next to nothing from your surroundings anymore. And others hear almost no sound from your headphones when you put them on. So if you record yourself, you also have little crosstalk from your headphones. Disadvantage: The sound of a closed back design can sound less natural, because the sound pressure is trapped in the earshells. With an open design, the back is partly open. So more crosstalk and you can hear much more of the place around you. But because the diaphragm can move more freely, these types of headphones sometimes sound more natural.
So which one do you choose? If you want to hear yourself back on headphones during a recording, a closed back version is better: less crosstalk. If you sit down in a quiet room to mix, an open design might be better. The Sennheiser HD650 sounds very good to me.
Active and Passive
When it comes to studio monitors, you have two kinds: active and passive ones. Active speakers have an amplifier built in. With passive speakers, you need a separate amplifier. You connect the monitors to the amp, and the amp to your audio interface.
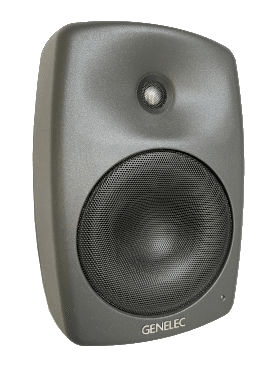
Nowadays, most professional studios use active speakers. In the studios where I work regularly I usually see monitors by Genelec, Neumann, Dynaudio, PMC and Adam. If you’re going to buy monitors, it’s best to go to the music store to listen to them first. Everyone has different preferences and it’s hard to judge online!
Placement of studio monitors
Placing your monitors in a room has a big effect on how they sound. For example, the bass that comes out of the speakers will sound louder in one place than another.
Why? It has to do with reflections in the room that strengthen or weaken each other in some places (see ‘Practical(!) audio theory’.) In an ideal situation you choose a place where the two walls on your left and right are at about the same distance from you. This gives a more balanced stereo image.
But wherever you decide to put your desk, you will probably have to adjust the acoustics of the room to get a good sound. In the tutorial ‘DIY Acoustics’ we will talk about this.
So how do you set up your studio monitors to make them sound as optimal as possible?
First of all, it’s important to place them at ‘ear height’. And always in an upright position, unless they’re specifically designed for horizontal use.
It’s best to put them on separate stands, just behind your desk. These stands are preferably heavy, e.g. filled with sand. This prevents contact noise: sound that leaks out through the floor and vibrates the room. If you still prefer to put them on your desk, make sure that there is as much ‘disconnection’ as possible between your desk and the monitors. There are special foam blocks or rubber caps for sale to decouple monitors in this way.
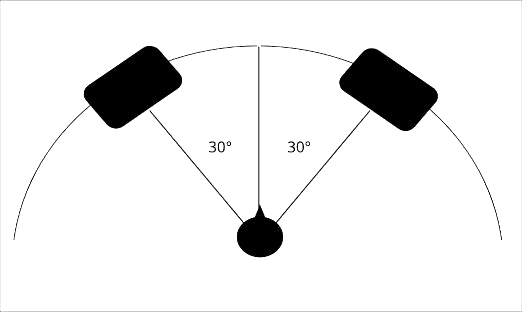
Then place your chair about 1-1.5 meters away. Look straight ahead at the wall. The best place is to place the monitors about 30 degrees to the left and 30 degrees to the right of that point, see picture above. Turn the monitors towards your ears, so that they are always facing you.
Then there’s one last thing to keep in mind. Monitors use a technique to amplify the bass frequencies. They often have a bass port (a hole where the bass comes out, see image below).
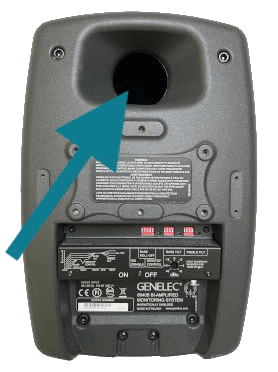
This can be on the front side, but also on the back side. The distance you place a monitor from the wall makes a big difference in sound. The closer to the wall, the more bass (in general). The user manual of the monitors often gives an indication of the distance you should place them from the wall. But keep listening: depending on the room, I often had to decide that the manual was not right!
To really make your room sound great, you will have to look at the acoustics of that room. Check out our Acoustics tutorial for more info about this.

